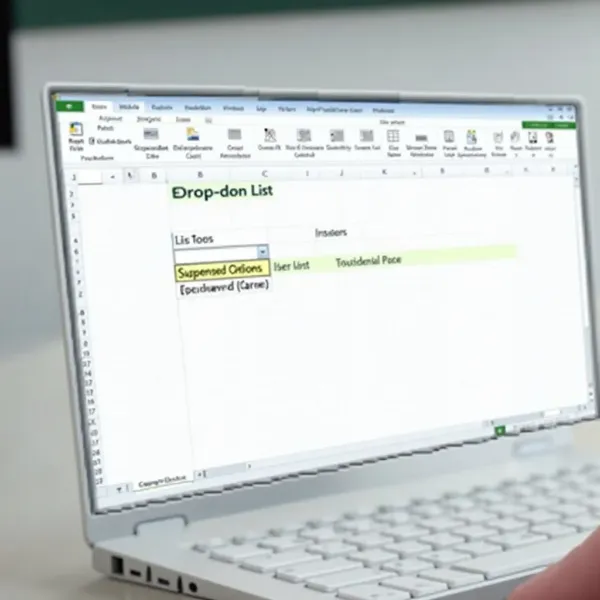
How to Add a Drop-Down List in Excel
Adding a drop-down list in Excel is an incredibly useful feature that can make your spreadsheets more efficient and error-free. Whether you're organizing a team project, tracking inventory, or just want to simplify data entry, a drop-down list can save time and reduce mistakes. In this guide, we’ll walk you through the simple steps to add a drop-down list, enhance its functionality, and troubleshoot common issues that may come up.

Why Add a Drop-Down List in Excel
Excel drop-down lists offer several benefits that can make your data entry process much smoother. Here’s why adding a drop-down list can be a game-changer.
Make Data Entry Faster
Drop-down lists make it easy to select data with just a click, rather than typing each entry manually. This is especially useful when dealing with large sets of data where typing could be slow or prone to mistakes.
Keep Entries Consistent
When everyone in your team or office uses the same list of predefined options, you can ensure consistency across your spreadsheets. This is key when you want to avoid variations in spelling, formatting, or choices.
Cut Down on Input Errors
Drop-down lists help eliminate human error. Since users can only select from the available options, there's no risk of entering incorrect or irrelevant data.
How to Add a Drop-Down List in Excel
Creating a drop-down list in Excel is straightforward. Follow these simple steps to get started.
Select the Cells
First, select the cells where you want to add the drop-down list. These could be individual cells or entire columns, depending on where you need the list.
Open Data Validation
- Go to the Data tab in the Excel ribbon.
- Click on Data Validation under the Data Tools group.
- A dialog box will appear to let you configure the list settings.
Enter the List Source
- In the Data Validation dialog box, navigate to the Settings tab.
- Under the Allow section, select List.
- In the Source box, type the options for your drop-down list, separated by commas (e.g., "Red, Blue, Green").
Turn on the Drop-Down
Make sure the In-cell dropdown box is checked. This will enable the drop-down arrow in the selected cells, allowing users to easily pick an option.
Test the List
Click on any cell with the drop-down list to test it. The drop-down arrow should appear, and selecting it should show the list of options you've created. If everything looks good, you're all set!

How to Make a Drop-Down List in Excel Work Better
Once you’ve added your drop-down list, there are a few ways to enhance its functionality. Here are some simple adjustments to make the list even more user-friendly.
Add an Input Message
You can help users understand the kind of information needed by adding an input message that appears when the cell is selected.
- In the Data Validation dialog box, go to the Input Message tab.
- Check the box that says Show input message when cell is selected.
- Enter a title and message to provide guidance on what to select.
Turn on Error Alerts
Error alerts will notify users if they try to enter something that isn’t on the list. This feature can be set up in the Error Alert tab in the Data Validation dialog box. You can customize the error message to explain why the entry is invalid.
Copy the List to Other Cells
Once your drop-down list is set up, you can easily copy it to other cells. Simply copy the cell with the drop-down and paste it wherever you need the same options.
How to Create a Dynamic Drop-Down List in Excel
Want your drop-down list to automatically update as your data changes? You can create a dynamic list that adjusts itself as you add or remove items.
Use a Table for the Source List
Convert your source list into an Excel table (by selecting your list and pressing Ctrl + T). A table will automatically expand to include any new items you add to the list, making it perfect for dynamic drop-down lists.
Keep the Source List in One Place
For easier management, keep your list of options in one place on your sheet (ideally in a table). This way, you can add new items or update existing ones without needing to modify the drop-down settings.
Update the List Without Starting Over
By using a table, any updates to your source list will automatically reflect in the drop-down, saving you time and effort. No need to recreate the list every time you make a change.
How to Edit or Remove a Drop-Down List in Excel
Need to update or remove a drop-down list? Here’s how you can make those changes.
Change the List Items
To change the options in your drop-down list, simply go back to the Data Validation dialog box and modify the items in the Source field. You can add new options, remove old ones, or even reorder them.
Update the Source Range
If your drop-down list is linked to a range of cells, you can update the source range by adjusting the range in the Source box. This allows you to expand or narrow down the available options without creating a new list.
Remove the Drop-Down List
If you decide you no longer want a drop-down list, select the cell or range of cells, open the Data Validation dialog box, and click Clear All under the Settings tab. This will completely remove the list.
How to Fix a Drop-Down List in Excel
If you're having trouble with your drop-down list, here are some common fixes for common issues.
Fix a List That Does Not Appear
If the drop-down list isn’t showing, make sure the In-cell dropdown box is checked in the Data Validation dialog box. Also, double-check that the range in the Source field is correct.
Fix Missing Items in the List
If some options are missing from the list, make sure you’ve entered all the items in the Source field and that the range is correct. If you’re using a dynamic list, verify that your table includes all the needed entries.
Fix Invalid Entries
To prevent invalid data from being entered, make sure the Allow field is set to List in the Data Validation dialog box. Check the Source box for any typos or missing items.
Conclusion
Adding a drop-down list in Excel is a quick and effective way to streamline your data entry process, making your spreadsheets more efficient and less prone to errors. Whether you're using static or dynamic lists, these easy steps will help you create organized, consistent data. By following these tips, you'll also be able to troubleshoot any issues that arise, keeping your work seamless and accurate.