How to Diagnose and Fix Black Lines on a Computer Screen
Black lines on computer screen usually mean one of three things: the signal is bad, the display settings or driver are misbehaving, or the screen hardware is damaged. Start with the cable and display tests before assuming the monitor or laptop panel is broken, because the cheapest fixes are also the easiest to rule out.
Check what is causing black lines on your computer screen
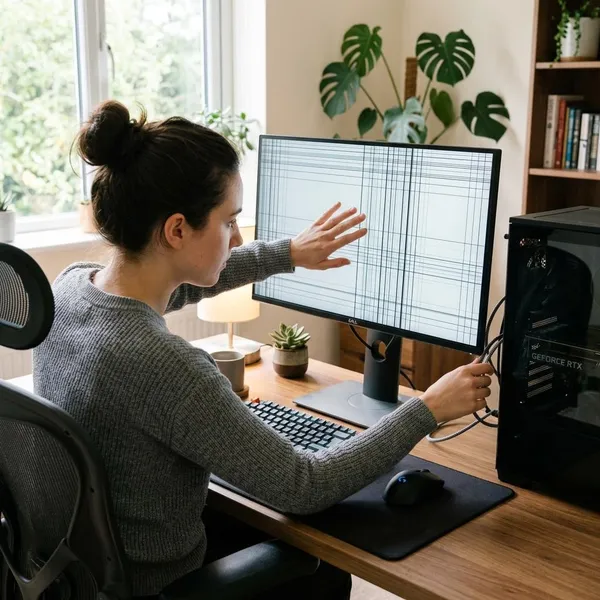
The fastest way to narrow the problem down is to think about where the image is failing. A bad cable affects the signal, a wrong setting affects how the image is sent, a driver affects how the computer draws the image, and screen damage affects the panel after the image arrives.
If the lines are fixed in one place, hardware becomes more likely. If they change after a restart, update, cable movement, or display setting change, start with software and connection checks first.
Loose or damaged display cables
A loose HDMI, DisplayPort, VGA, or USB-C cable can create black lines, flickering, or brief image dropouts. Push the cable in firmly at both ends and check whether the lines change when the cable is moved gently.
Do not judge the cable only by how it looks from the outside. A cable can fail internally, especially if it has been bent behind a desk, pulled tight through a monitor arm, or plugged in and out often.
Wrong display settings
A monitor can behave oddly when it is not using its native resolution or a refresh rate it handles well. This often happens after connecting a new monitor, using a dock, switching from one screen to two, or changing GPU software settings.
- Use the recommended resolution for the affected screen.
- Choose a supported refresh rate instead of forcing the highest option.
- Reset scaling or custom display settings if the problem started after changing them.
Graphics driver problems
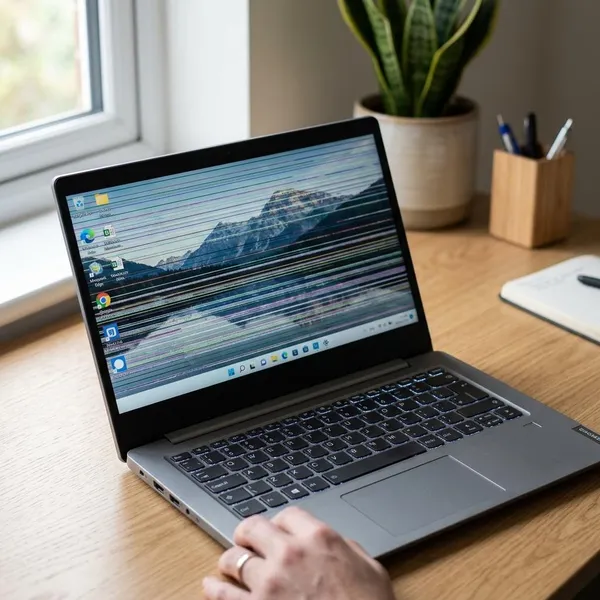
Driver problems are more likely when the lines appear after a Windows update, a graphics driver update, a game install, or a wake-from-sleep issue. You may also see flickering, freezing, app crashes, or artifacts that change depending on what is open.
A useful clue is safe mode. If the screen looks normal in safe mode but not in normal Windows, the driver or display configuration deserves attention before you spend money on parts.
Screen or internal cable damage
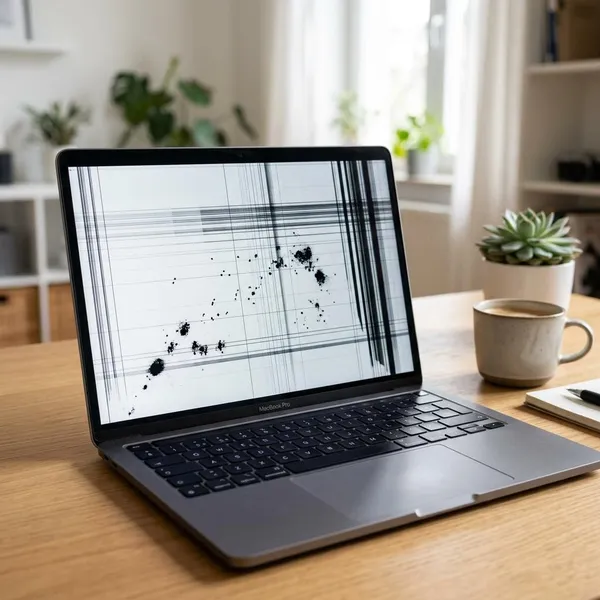
Physical screen damage usually creates lines that stay in the same place. A laptop that was dropped, twisted, pressed in a bag, or closed on a small object can develop permanent vertical or horizontal lines.
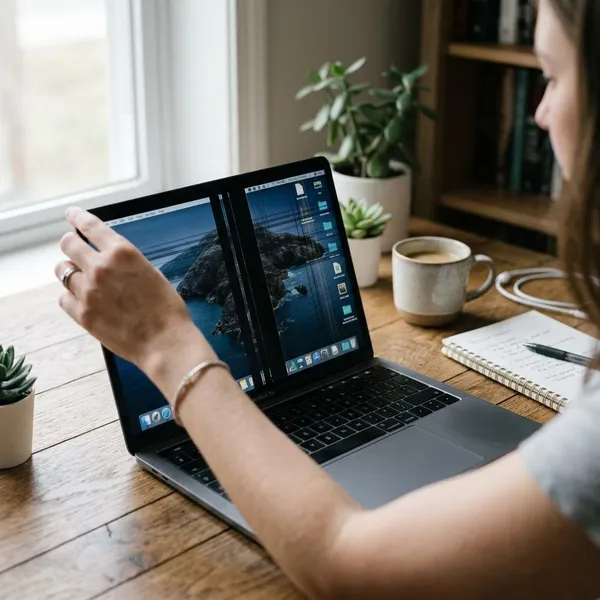
With laptops, the hinge cable is another possibility. If the lines appear only at certain lid angles, flicker when you move the screen, or disappear when the lid is positioned just right, the internal cable may be failing rather than the panel itself.
Try these quick fixes for black lines on your screen
Try the simple fixes in order. The point is not to click every setting randomly, but to learn whether the problem changes when power, cable connection, ports, or display mode changes.
Restart your computer and monitor
Shut down the computer fully, turn off the monitor, unplug both from power for about a minute, then start them again. This resets the display handshake and clears temporary graphics glitches that can happen after sleep mode, docking, or switching displays.
Reconnect the display cable
Unplug the display cable from both ends, check for dust or bent pins, and reconnect it without tension on the cable. If you use a dock, adapter, or hub, connect the monitor directly to the computer for this test.
This is worth doing even if the cable "looks fine." A slightly loose connector can cause symptoms that look much more serious than they are.
Try another cable or display port
Use a different cable of the same type, or switch to another available port on the computer or monitor. If the lines disappear, the old cable or port is the likely fault.
For a desktop setup with an external monitor, this is often the most practical first repair: replacing a cable is cheaper and easier than replacing a screen.
Find out if the black lines are software or hardware related
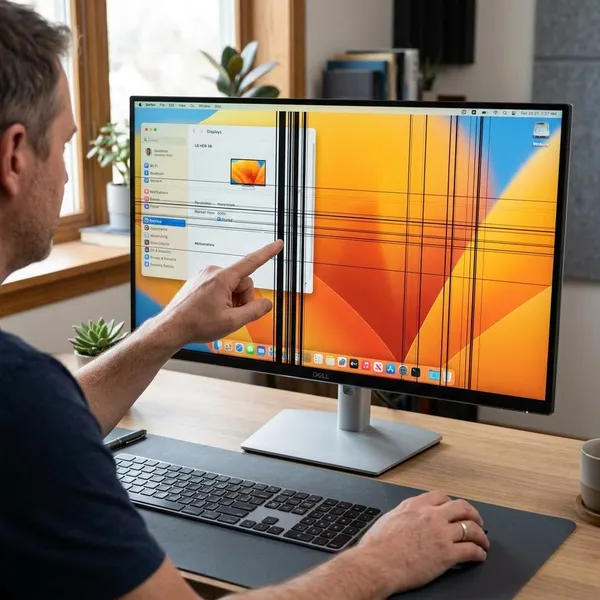
Once the quick fixes are done, the next job is to separate software from hardware. These tests give better clues than simply staring at the screen and hoping the lines go away.
Take a screenshot and check whether the lines appear
Take a screenshot while the lines are visible, then open that image on another screen or send it to another device. If the lines appear in the screenshot, the computer is likely creating the problem before the image reaches the display. If the screenshot is clean, look harder at the monitor, laptop panel, cable, or port.
This test is quick, but not perfect. Use it with the startup and second-screen checks before making a repair decision.
Look for the lines during startup
Watch the screen from the moment the computer turns on. Lines that appear on the manufacturer logo, BIOS screen, or early boot screen are less likely to be caused by normal Windows settings.
If the startup screen is clean and the lines appear only after Windows loads, driver, resolution, refresh rate, or graphics software settings move higher on the list.
Connect your computer to another screen
Connect a laptop to a TV or external monitor, or test a desktop with another monitor if you can. This is one of the clearest ways to avoid replacing the wrong part.
- Lines only on the laptop screen: suspect the laptop panel or internal display cable.
- Lines only on one external monitor: suspect that monitor, its cable, or its port.
- Lines on every display: suspect the graphics driver, GPU, or computer hardware.
Fix persistent black lines on your computer screen
If the lines keep coming back, make one change at a time and test after each change. Changing drivers, cables, updates, and ports all at once makes it harder to know what actually fixed the problem.
Update or reinstall the graphics driver
Update the graphics driver from NVIDIA, AMD, Intel, or your computer manufacturer. If the problem began right after a driver update, try rolling back instead of automatically installing the newest version again.
A clean reinstall is worth trying when the lines come with flickering, freezes, sleep-wake problems, or strange app behavior. After reinstalling, test the same situation that usually triggers the lines, such as video playback, gaming, or using a second monitor.
Install Windows and graphics updates
Install normal Windows updates and any trusted graphics-related updates for your system. Compatibility fixes can matter, especially on laptops, docking stations, and multi-monitor setups.
Be careful with timing. If the lines started immediately after one specific update, that update may be part of the problem, so rolling it back can be more useful than adding more changes on top.
Check the screen and cables for physical damage
Inspect the screen under good light. Look for cracks, pressure marks, dark patches, discolored areas, bent connectors, loose ports, or frayed cable ends.
For a laptop, slowly open and close the lid while watching the lines. Movement-sensitive lines point toward the hinge cable; fixed lines in the same place point more toward panel damage. Do this gently, because forcing the hinge can make a damaged cable worse.

Decide what to repair when black lines will not go away
The repair choice should follow the test results. Replace the part that the problem follows, not the part you notice first. A line on the screen does not automatically mean the screen is the faulty part.
Replace the display cable when another cable fixes the problem
If another cable removes the lines, replace the cable and stop troubleshooting there. Choose a cable that matches the connection type and the monitor settings you actually use, especially for higher resolutions or refresh rates.
If the same issue returns with a new cable, test the ports next. A loose monitor input or damaged computer output can mimic a bad cable.
Repair the laptop screen when an external monitor works normally
When the laptop screen shows lines but an external monitor looks normal, the problem is usually inside the laptop display assembly. The two common suspects are the panel and the internal cable near the hinge.
For a student laptop or work laptop that gets opened and closed many times a day, a hinge cable fault is believable if the lines react to lid movement. If the lines are fixed and there are pressure marks or dark spots, screen replacement is more likely.
Replace the monitor when the lines stay on the same screen
If the same monitor shows lines with different computers, different cables, and different ports, the monitor is the part to replace or repair. For an older office monitor, replacement often makes more sense than paying for panel or board repair.
Before buying a new one, test the monitor menu if possible. If the lines appear even over the monitor's own on-screen menu, the fault is very likely inside the monitor.
Check the graphics card when the lines appear on multiple displays
Lines on multiple displays point back to the computer, not the screens. Check the graphics driver first, then look at the GPU, ports, heat, and power stability.
If your desktop has both a dedicated graphics card and integrated graphics, test the motherboard video output if your system supports it. If the lines disappear there, the dedicated GPU becomes the main suspect. Back up important files early if crashes or display loss are also happening.
Conclusion
The smartest order is simple: check the cable, restore the recommended display mode, compare another screen, then test startup and safe mode. If the lines follow one monitor, repair or replace that screen; if they follow the computer across displays, focus on the driver, heat, or graphics hardware. Do the cheap checks first, but do not ignore fixed lines, spreading damage, or GPU symptoms that keep getting worse.